DIY Game Processing Tools to Save Money
This is How to Do Your Own Game Processing
We get it. It’s so much easier to just drop a deer off at a butcher to take care of your game processing for you. We’re all strapped for time, especially during deer hunting season. But do you really know you’re getting your own venison back? This is not to discredit the butcher business because there are some great and reputable local deer butchers near everyone. But there are also some individuals who might just toss all the meat processing together with the next guy who gut shot his deer and let it sit for days before bringing it in. If you really care about the meat you actually harvested from the deer, it’s so much better and fulfilling to do your own game processing at home.
Plus, it ultimately makes far more sense financially to do it yourself instead of bringing it to someone else. The average price of processing a deer fully (including skinning, butchering, and packaging) is about $75 to $100 per deer. If you save the money you would spend on processing two deer, that’s enough to buy all these game processing tools easily. And if you really think about it, every two deer after that is like a free tree stand. If that doesn’t convince you, what will?
Good Game Processing Starts in the Field
As with anything, the more care you invest in the front-end of butchering a deer, the better the meat will turn out. A poorly cared for deer will yield some off-tasting venison, and it all starts in the tree stand. Whether you recently tagged a doe for the freezer or you’re chasing a post-rut buck right now, making a good shot is critical to not spoil the meat. A gut-shot deer will often take hours to expire, and some unpleasant things can happen during that time. Stomach content can spread throughout the body cavity, which can then spread further once you field dress them and taint the meat. It’s obvious, but you need to make the best shot you can by practicing and being proficient with whatever weapon you’re using, and being very careful about field dressing a deer. Dragging your deer across the ground can also impact the meat slightly. If possible, place them into a sled or carry the carcass as much as possible.
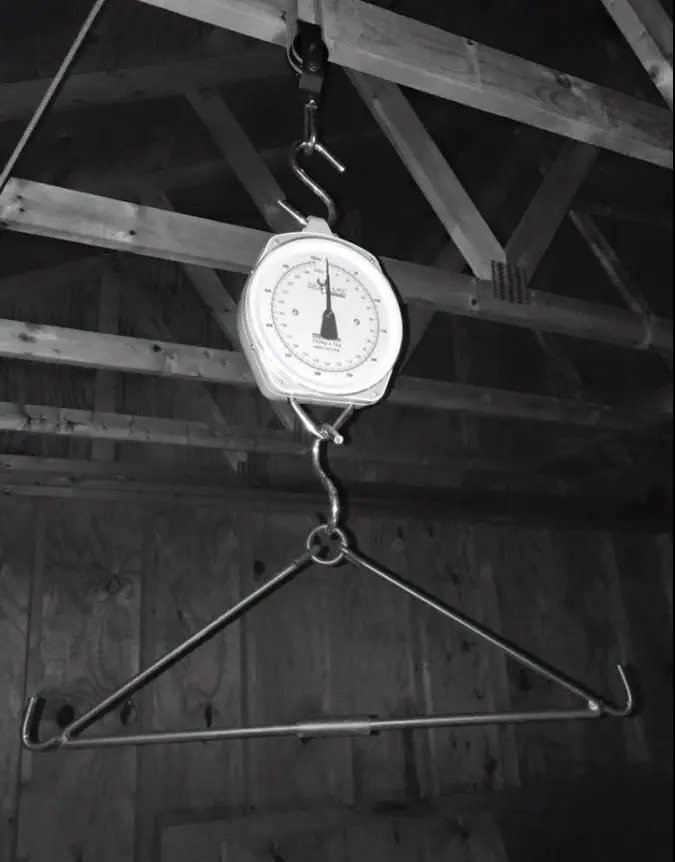
Another huge consideration is the temperature. If you’re hunting the late season where the temperatures are below freezing, you don’t need to worry. But if it’s an early season hunt or you’re down south, you need to move quickly after shooting. Field dress the animal as quickly as you can and spread the rib cage apart to start cooling the chest cavity. If it’s above 60 degrees, you should skin the deer as soon as possible. The hide really insulates the meat well and can cause some spoilage if not taken care of quickly. Before you do that, you might want to hang the deer on a dial scale to see its field dressed weight.
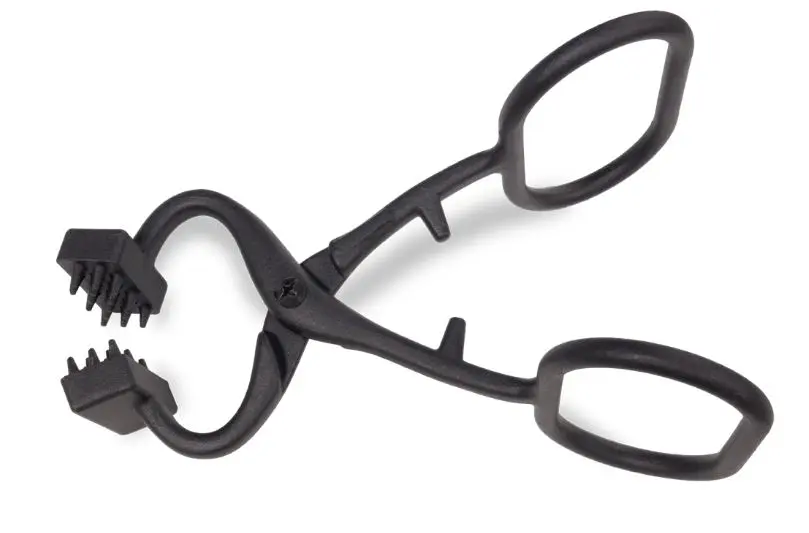
Once you get your deer back home or to your camp, you should skin the deer if you haven’t already. This is made easier with the Magnum Lift System, which allows you to easily hoist even the heaviest deer up to eye level instead of straining your back to bend over. Insert the heavy-duty gambrel into the deer’s hind legs and start lifting it up. Starting at the 3whind legs, slowly remove the hide by peeling and making select cuts where it gets stuck. Skinning a deer that has been recently killed is easy, but one that has aged a few days or been frozen will require a little more effort. The skinning tool makes it a non-issue with powerful teeth that grip the hide.
How to Quarter a Deer
Once the carcass is bare, it’s time to start quartering it up into basic pieces. You don’t need a lot of fancy game processing equipment or accessories either; simply gather some knives, a sharpener, a cutting board, and some butcher paper.
If the deer is still up on the lift system, start by removing the backstraps and tenderloins. These are the choicest cuts on a deer, by most hunters’ estimates. The tenderloins are located on the inside of the cavity beneath the spine towards the hips. They are 8 to 12 inches long and should pull out with some minor cutting on each edge. The back straps are located along each edge of the spine sitting on top of the ribs. Start your cut down each side of the spine from neck to rump. Then make a cut perpendicular to the spine near the neck to start it. Slowly work your way down the spine, cutting in small increments. Eventually, the muscle will start to pull away on its own with some minor cutting. Continue all the way down to the rump area. These two back straps are very versatile (and delicious) later on.
Next, move onto the front legs. Use a sharp set of meat processing knives and cut under the armpit area towards the spine, following the rib cage. They are only connected via muscle tissue, so they will come off easily. Use a hack saw to remove the lower leg. Place each front leg on a table lined with some butcher paper. Then work on the neck meat by basically unwrapping it from the spine.
Now it’s time to remove the rear legs. Basically fold them backward and start cutting the meat until you expose the ball and socket hip joint. Pop it out of place and continue cutting the meat until it separates from the pelvis. Again, saw the lower leg off. At this point, you could also remove the ribs from a fresh deer and pick away here and there. But it’s mostly ready for final processing.
The Nitty Gritty of Game Processing
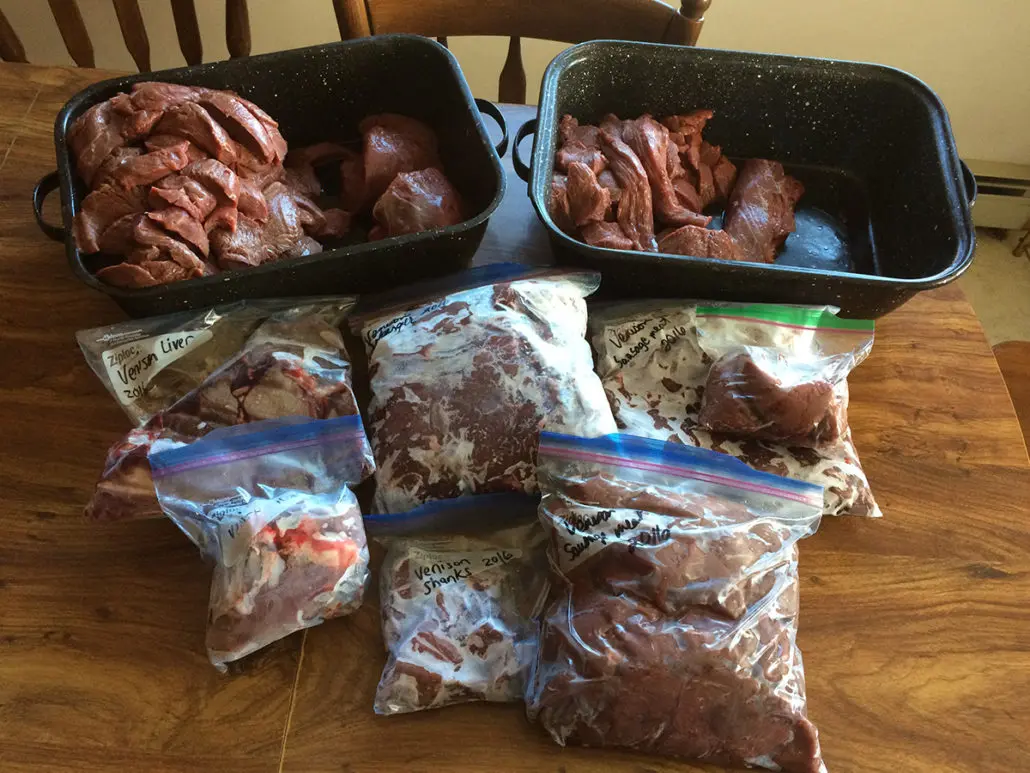
Now you should be able to take the quartered pieces and start turning it into real cuts of meat for eating. The easiest way to do this is to refer to a good deer processing chart, which will show you where to get each cut of meat from the deer. For each cut, take the time you need to really trim the silver skin membrane and sinew from every piece, which will really enhance the quality of the meat. Basically, you will get a few roasts from the hind legs and potentially the front shoulder or neck. You can leave the back straps whole to roast or smoke, or cut them into thick steaks for grilling. You’ll get a lot of steaks from the hind quarters too. Most of the remaining meat can be ground for hamburger, sausage, or jerky. This might seem a little picky, but you really can’t mess anything up. If you accidentally cut up a roast, you’ll have more steaks and will learn for next time. If you really like sausage, you could grind every scrap on the carcass using simple home meat processing equipment. As long as you’ll eat it, it’s a good deer processing option.
There’s really no wrong way to do your own game processing as long as you keep quality meat at the front of your mind and spend a little extra time on it. The satisfaction of eating a meal you killed and processed yourself is well worth the effort involved.


Leave a Reply
Want to join the discussion?Feel free to contribute!